Below steps are tested on Ubuntu 20.04, 22.04, 23.04 & Debian, and I am sure it will work on other systems as well [just package installation method will change]
*This method never after any other system/panel/website/anything
*** If you already have setup of Cloudflare then you can skip STEP no. 2, 3, & 4
Step 01: Updating the system ![]()
sudo apt -y update
Step 02: Installing required packages for next steps ![]()
sudo apt -y install ca-certificates curl gnupg lsb-release docker-compose docker docker.io docker-compose python3 python3-pip apt-utils
Step 03: Creating account on Cloudflare

Img 3.1: https://go.yesbhautik.co.in/enjq062g
[complete sign up process, and verify account properly]
Step 04: Add the domain to Cloudflare
-
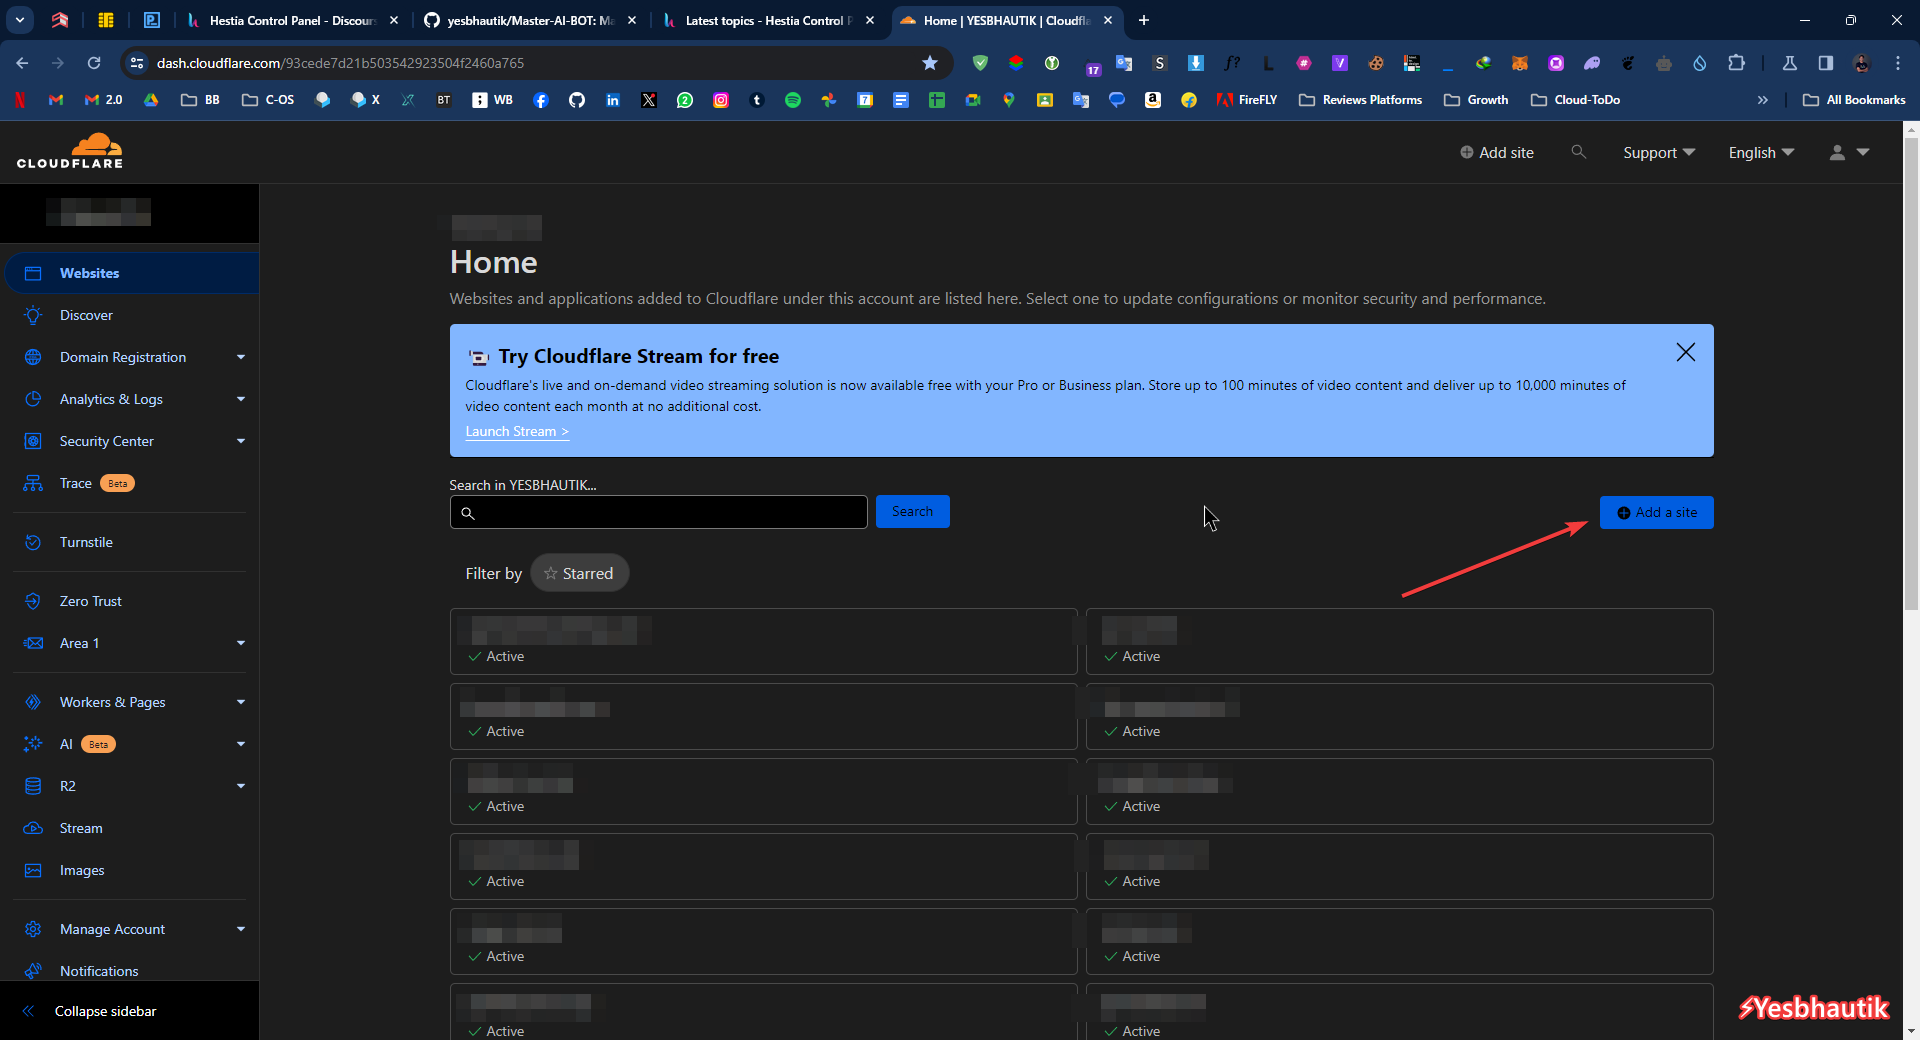
Go to: https://dash.cloudflare.com/ & Click on Add Site
Img 4.1: https://go.yesbhautik.co.in/nhati339 -
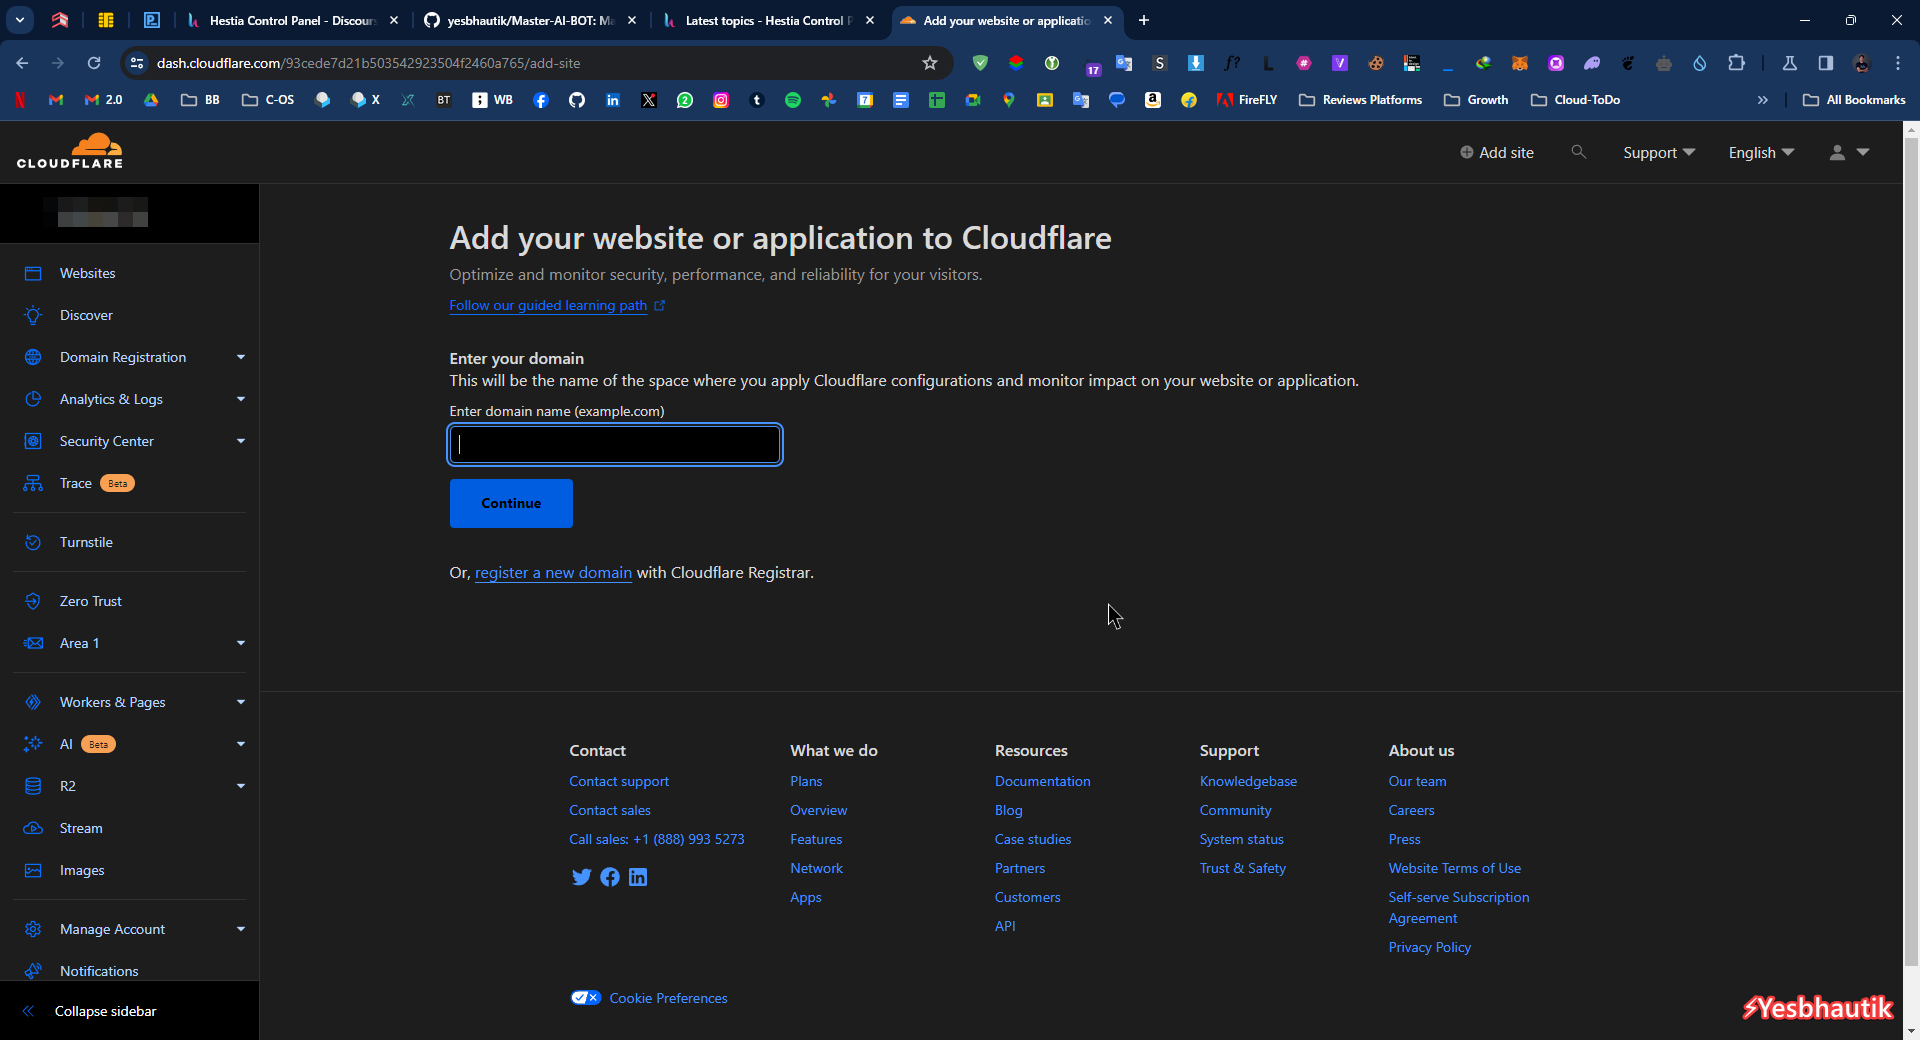
Selecting the domain
Enter domain name [example.com] and hit enter/continue
Img 4.2: Sign in to your account
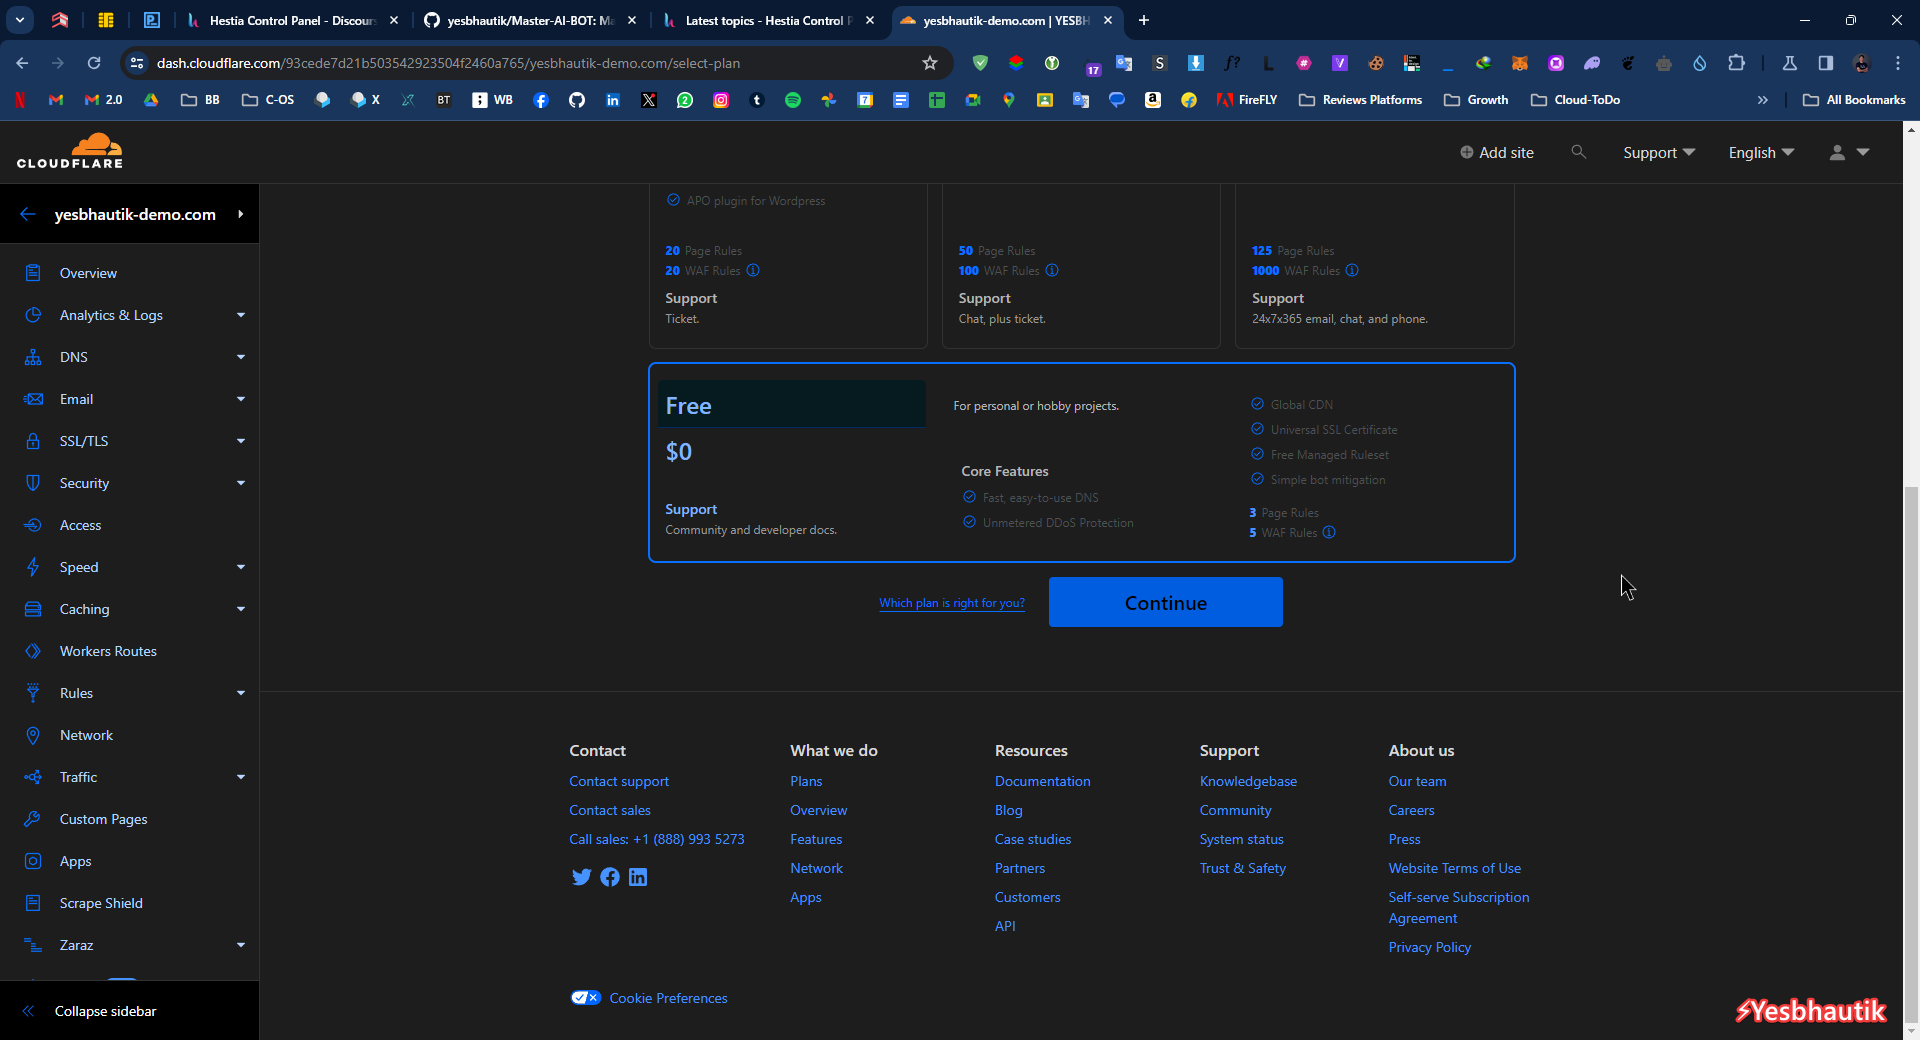
- Selecting plan for the domain
Scroll down, select Free & Click on Continue
Img 4.3: Sign in to your account
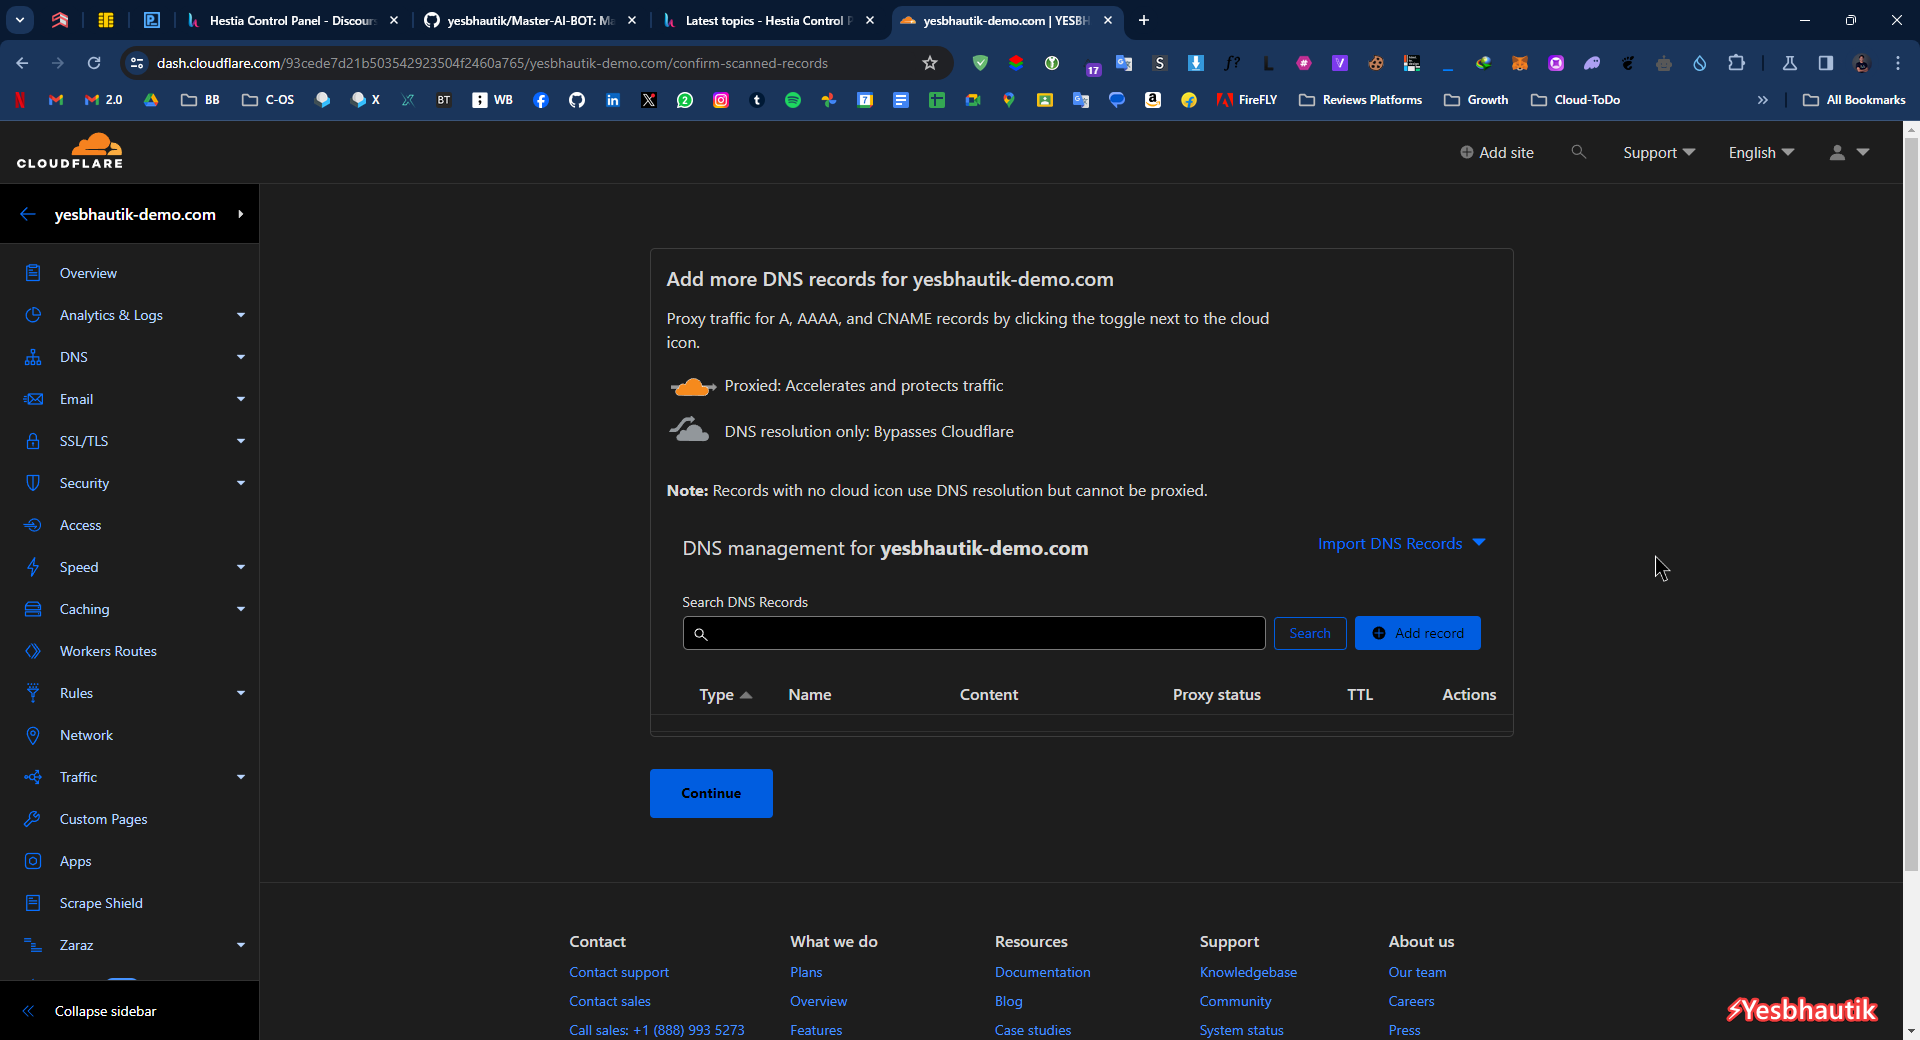
- Selection/Editing/Deleting Pre-created DNS records
It will show DNS records list if any. You can keep/edit/delete it. After click on Continue
Img 4.4: Sign in to your account
- Confirmation of DNS records
If you not added any DNS records, at previously. Then it will ask for confirmation. So, click on Confirm.
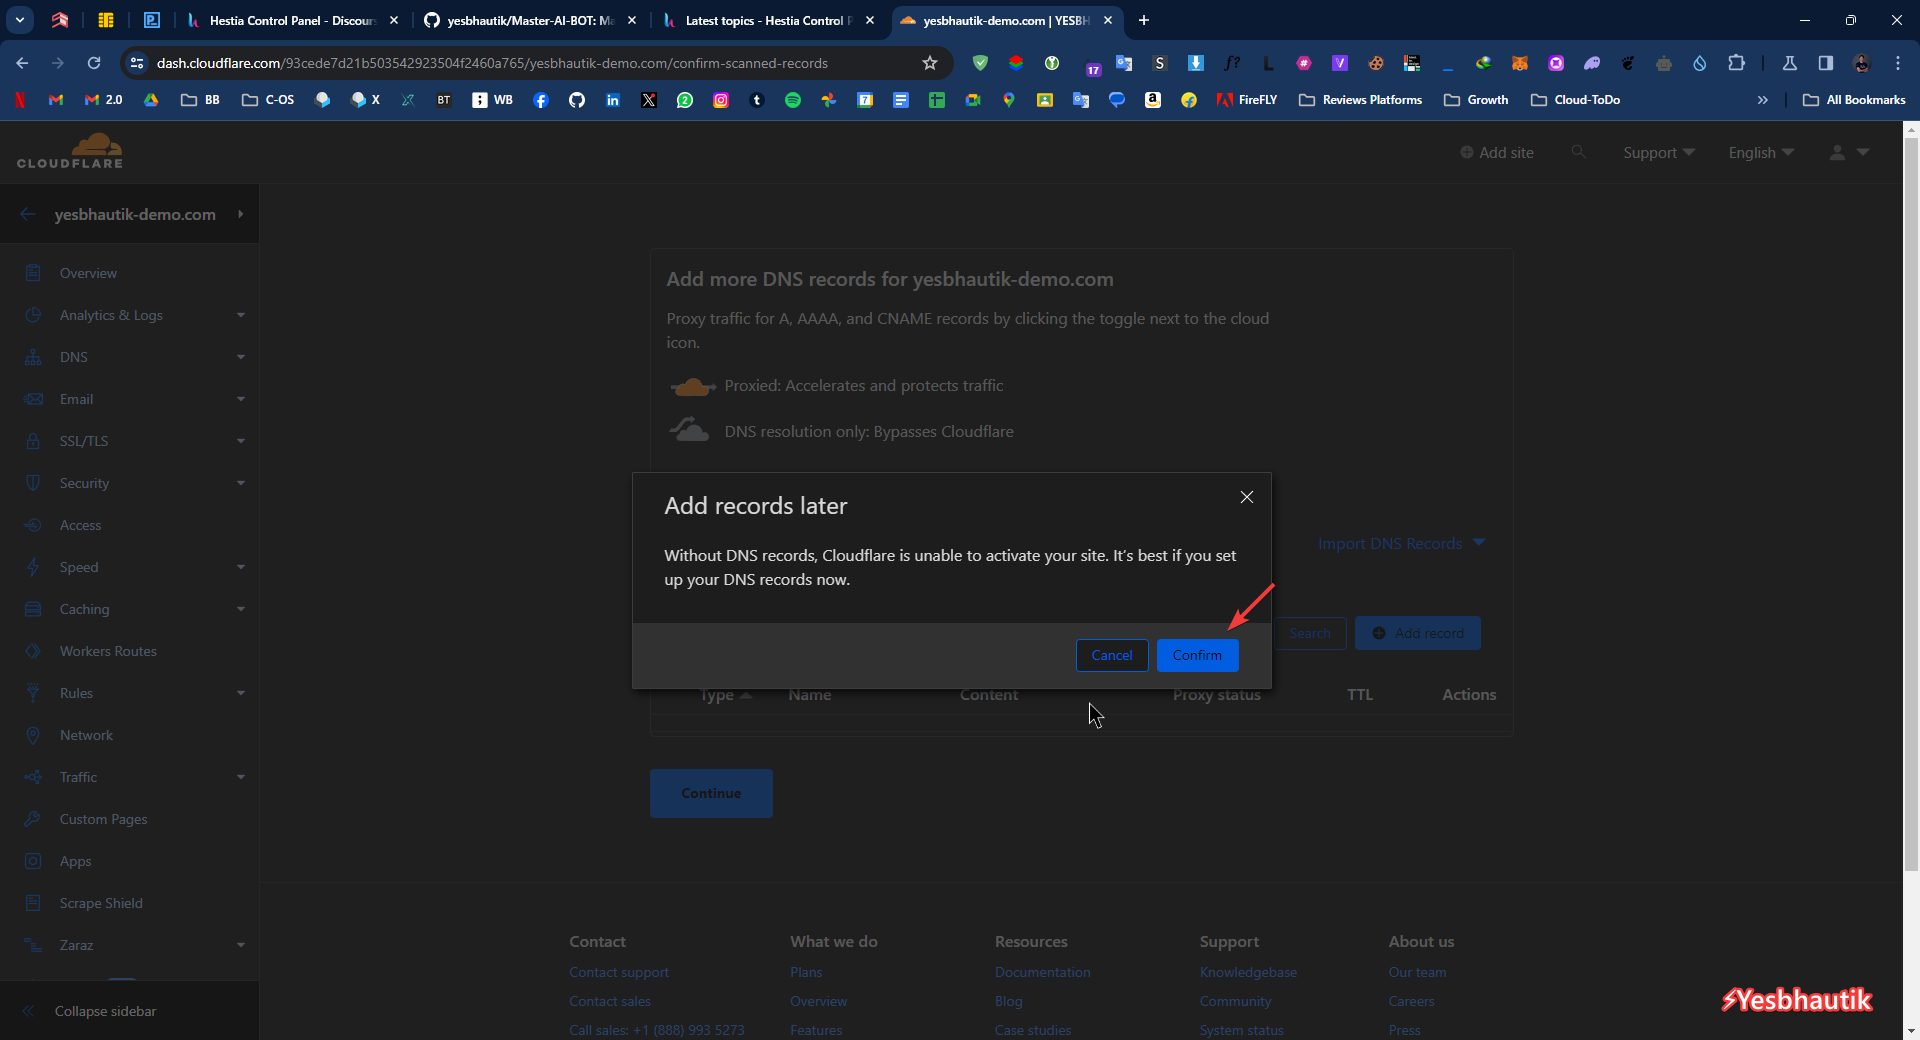
Img4.5: https://go.yesbhautik.co.in/8bszj1za
- Saving the Nameservers
Now, it will show the Nameservers. So open notepad note the both of nameserver names, and continue.
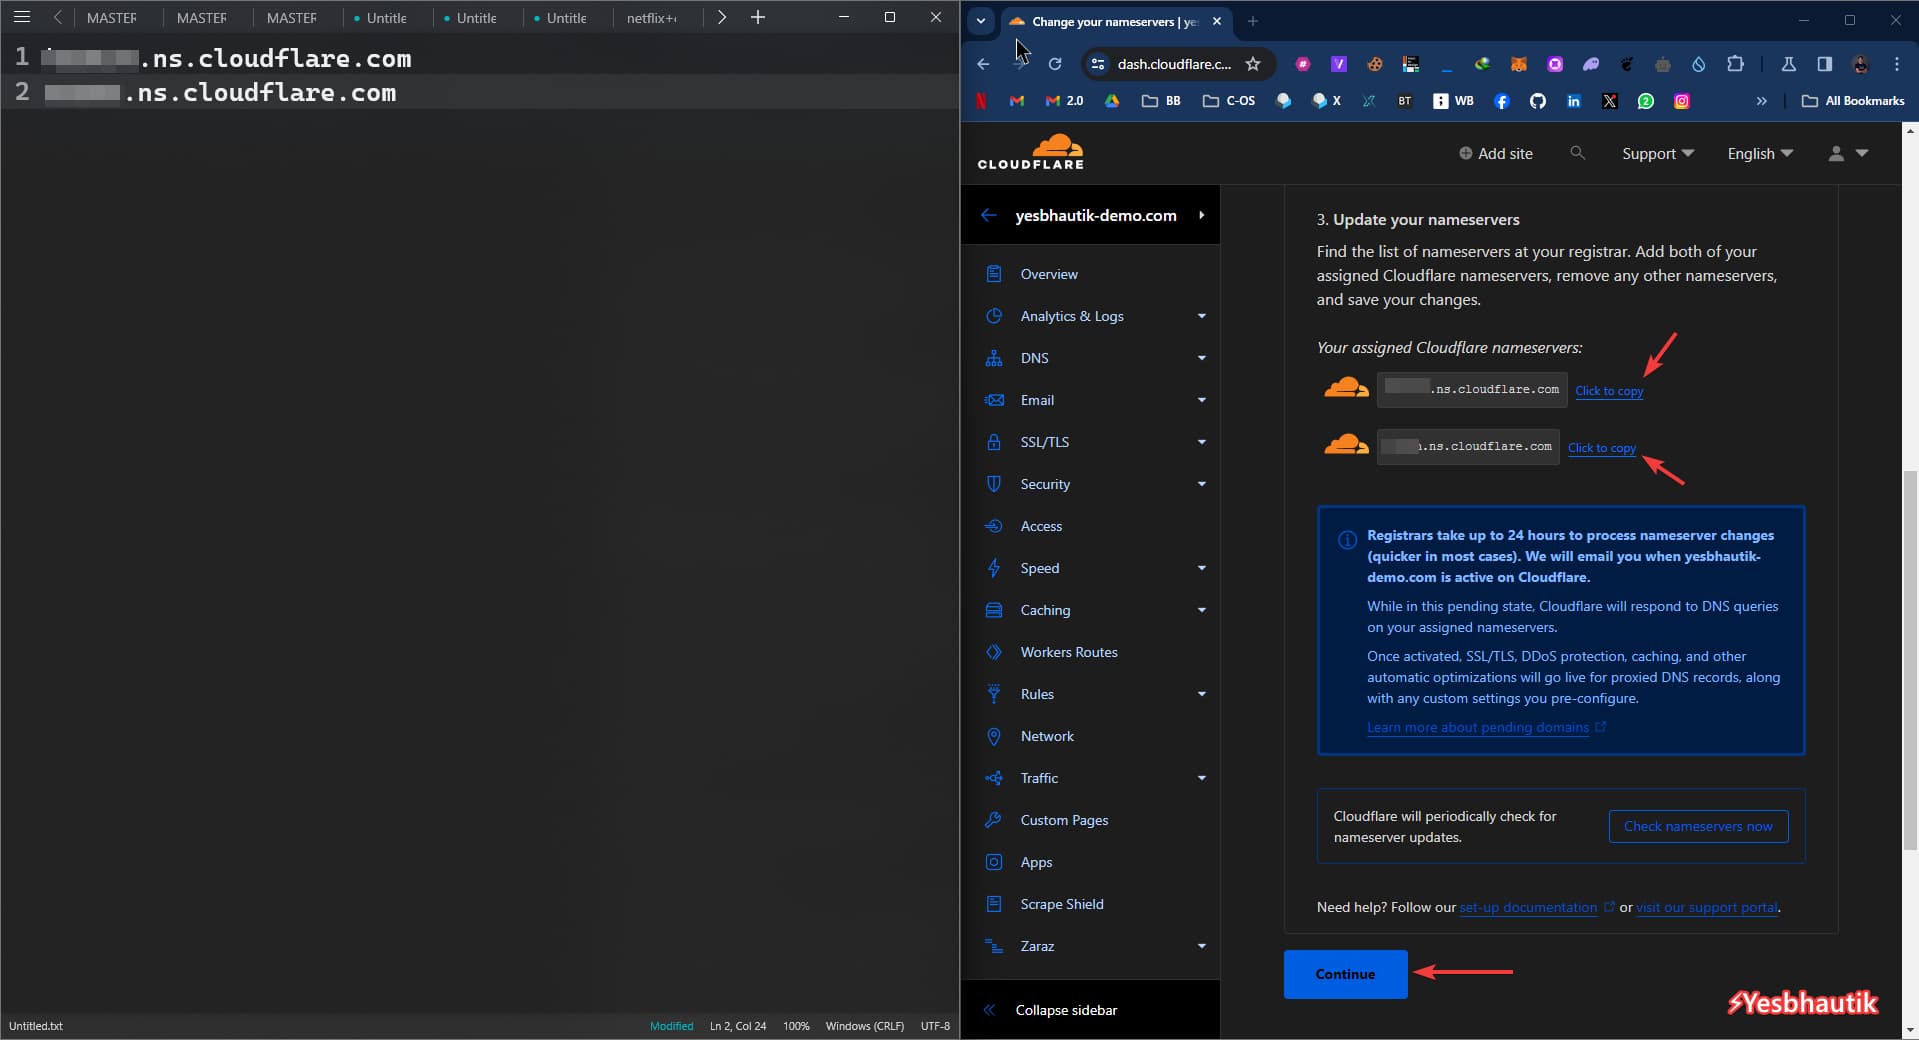
Img 4.6: https://go.yesbhautik.co.in/sjy1n6rh
Step 04: Changing the Nameservers of the domain
- Go to Domain registrar’s website
- Open the domain management panel
- Click on nameservers, select custom nameservers
- Enter nameservers which you have noted on Notepad Previously
- Save
Step 05: Editing DNS Records
- Go to https://dash.cloudflare.com/
- Select domain
- Click on DNS at left side menu

Img 5.1: Sign in to your account
- Which domain[@/root] or Sub-domain you want to connect with PORT/External APP. Delete the A/AAAA/Cname record related to that domain/subdomain.
Example: If you want to connect yesbhautik-demo.com then deleted A/AAAA/Cname record of yesbhautik-demo.com
If you want to connect app.yesbhautik-demo.com then no need to deleted other one, only delete A/AAAA/Cname record of app.yesbhautik-demo.com
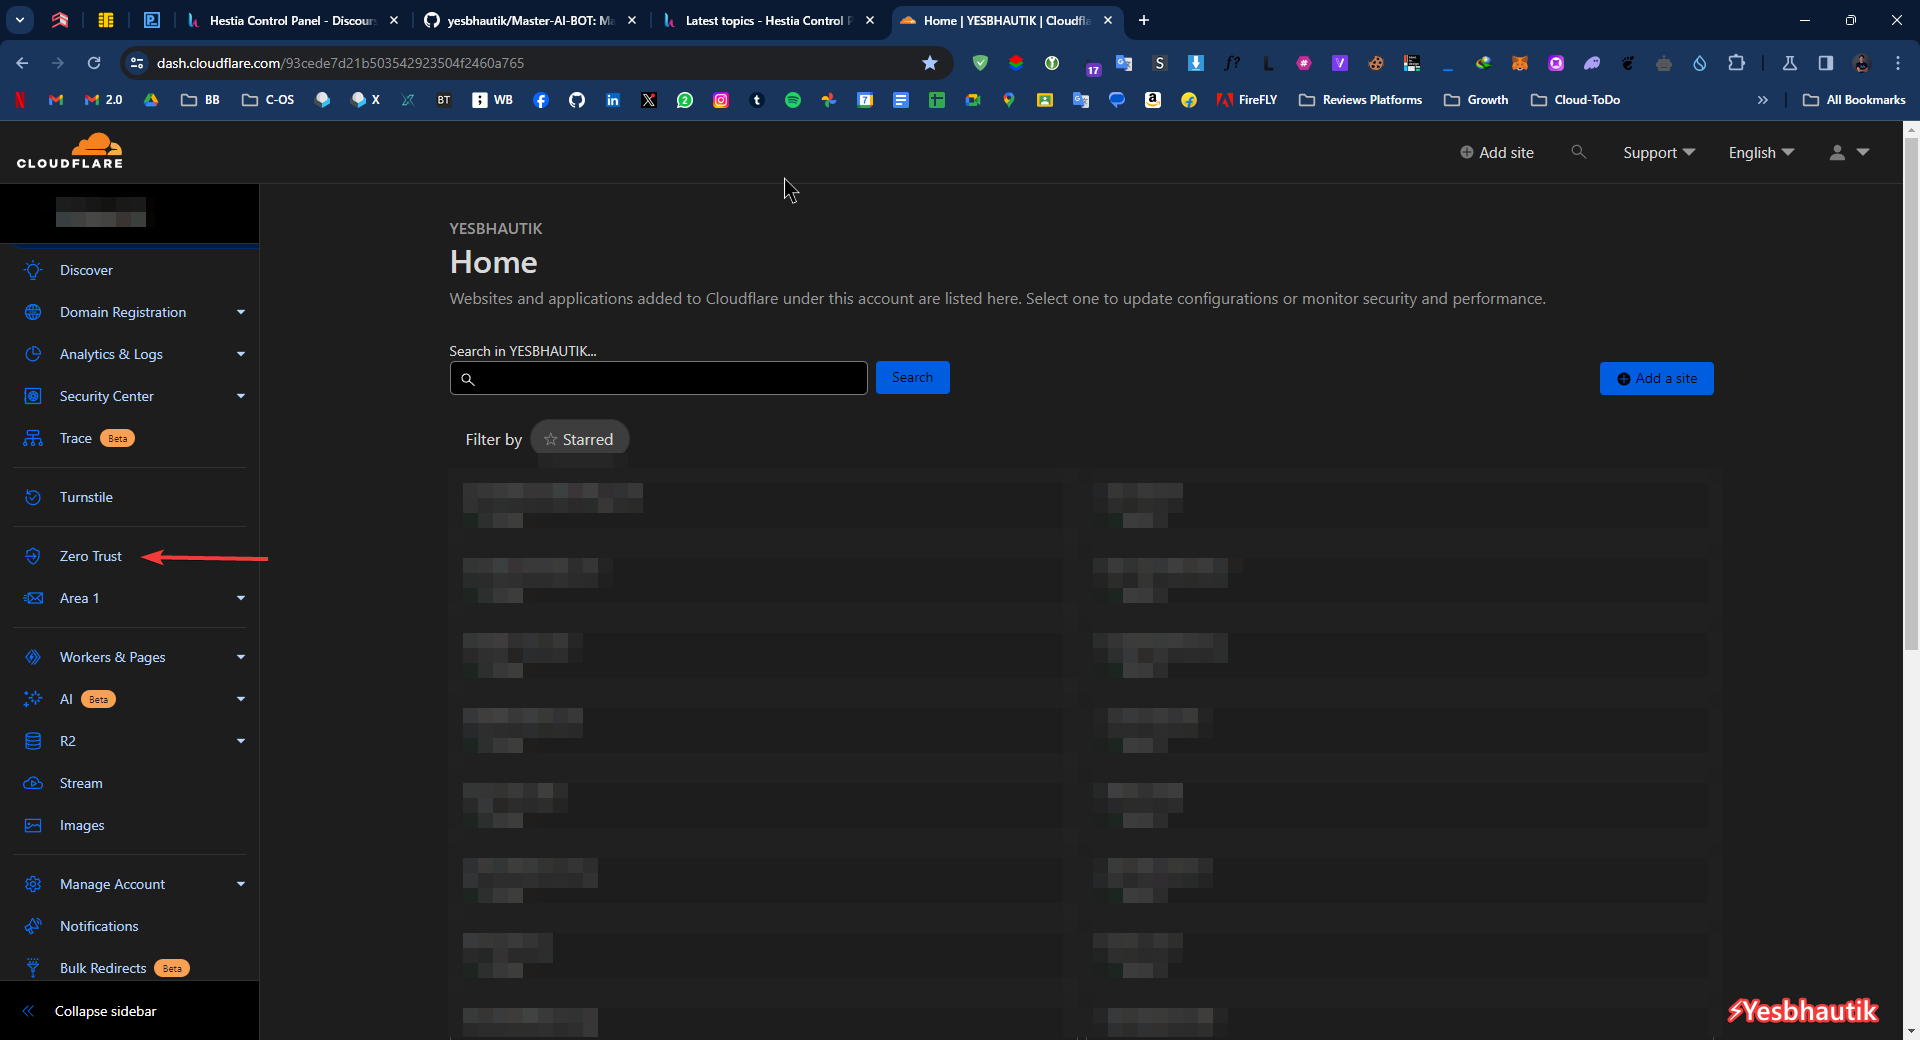
Step 06: Configure the ZERO TRUST
- Go to https://dash.cloudflare.com/
- Click on Zero Trust at left side menu
Img 6.1: Sign in to your account
- Expend the Access Menu from left side menu, click on tunnels, and again click on Create a tunnel button
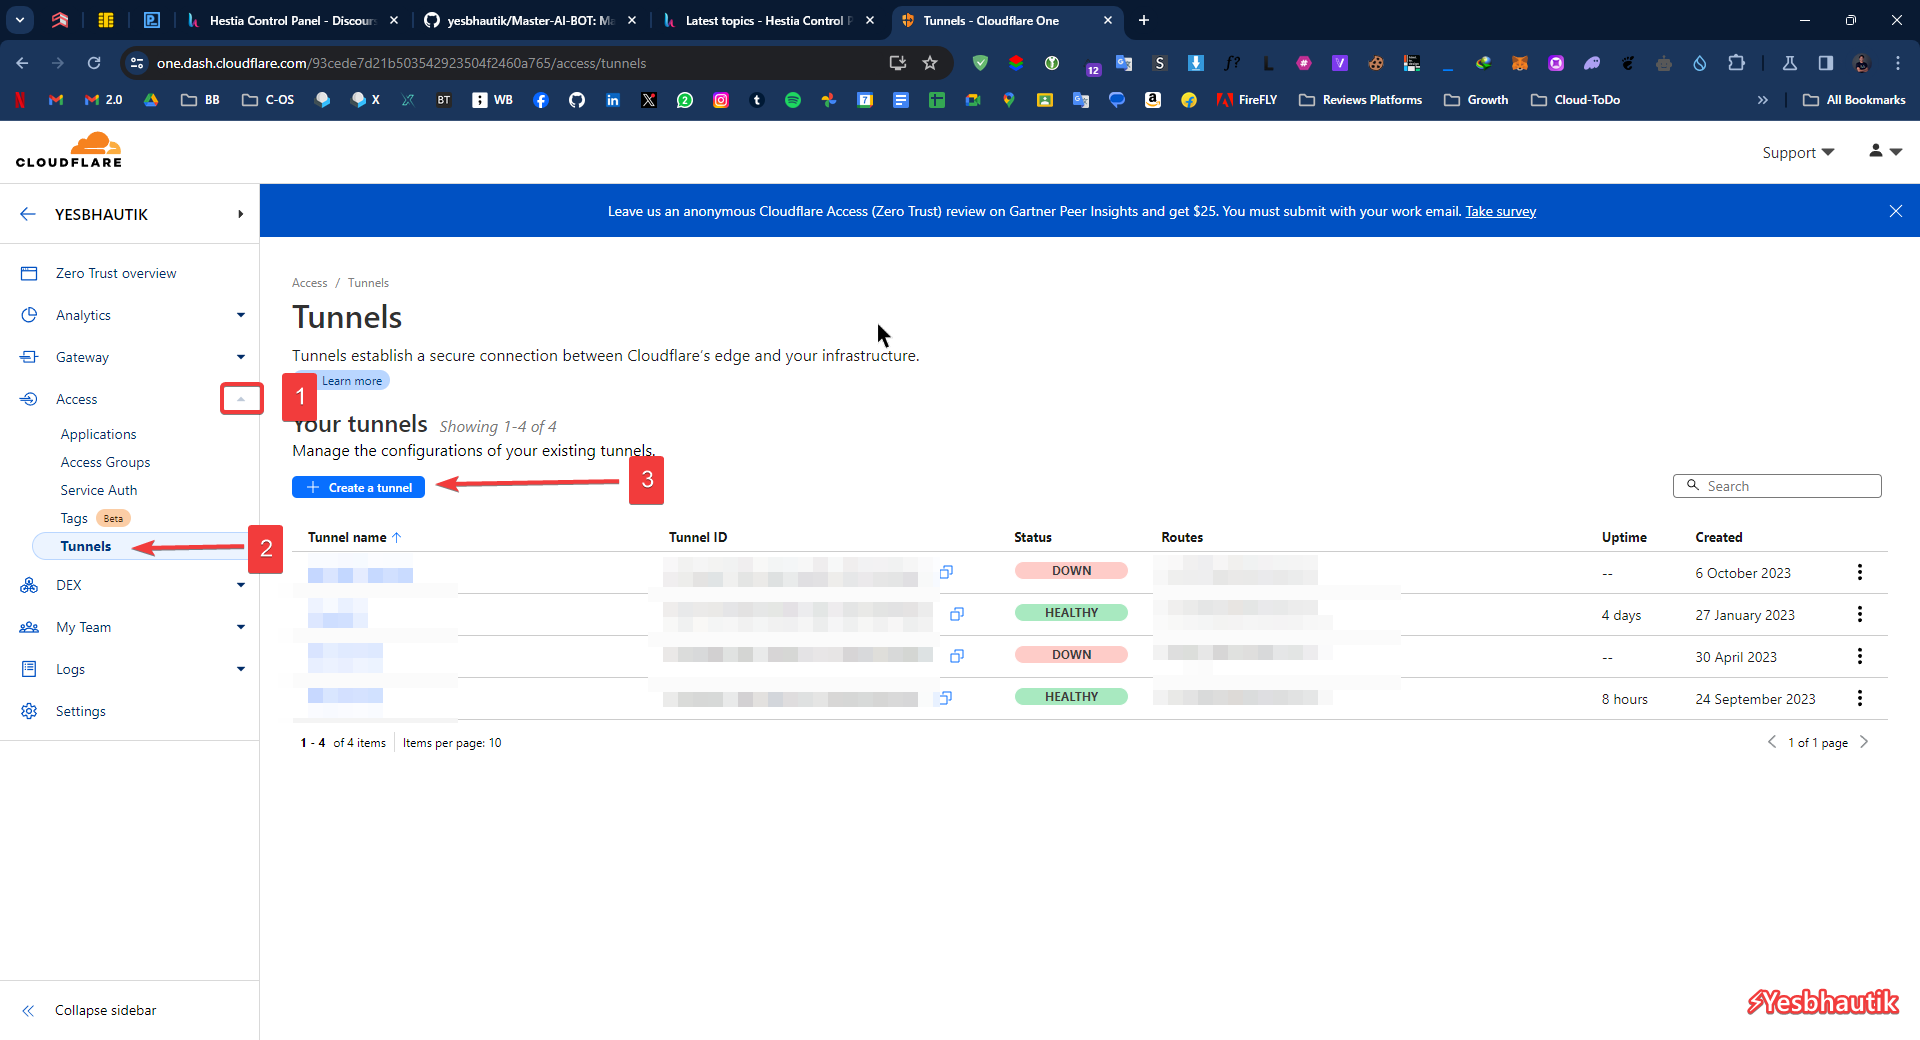
Img 6.2: https://go.yesbhautik.co.in/ne70f01b
- Give any name as you wish and click on Save tunnel
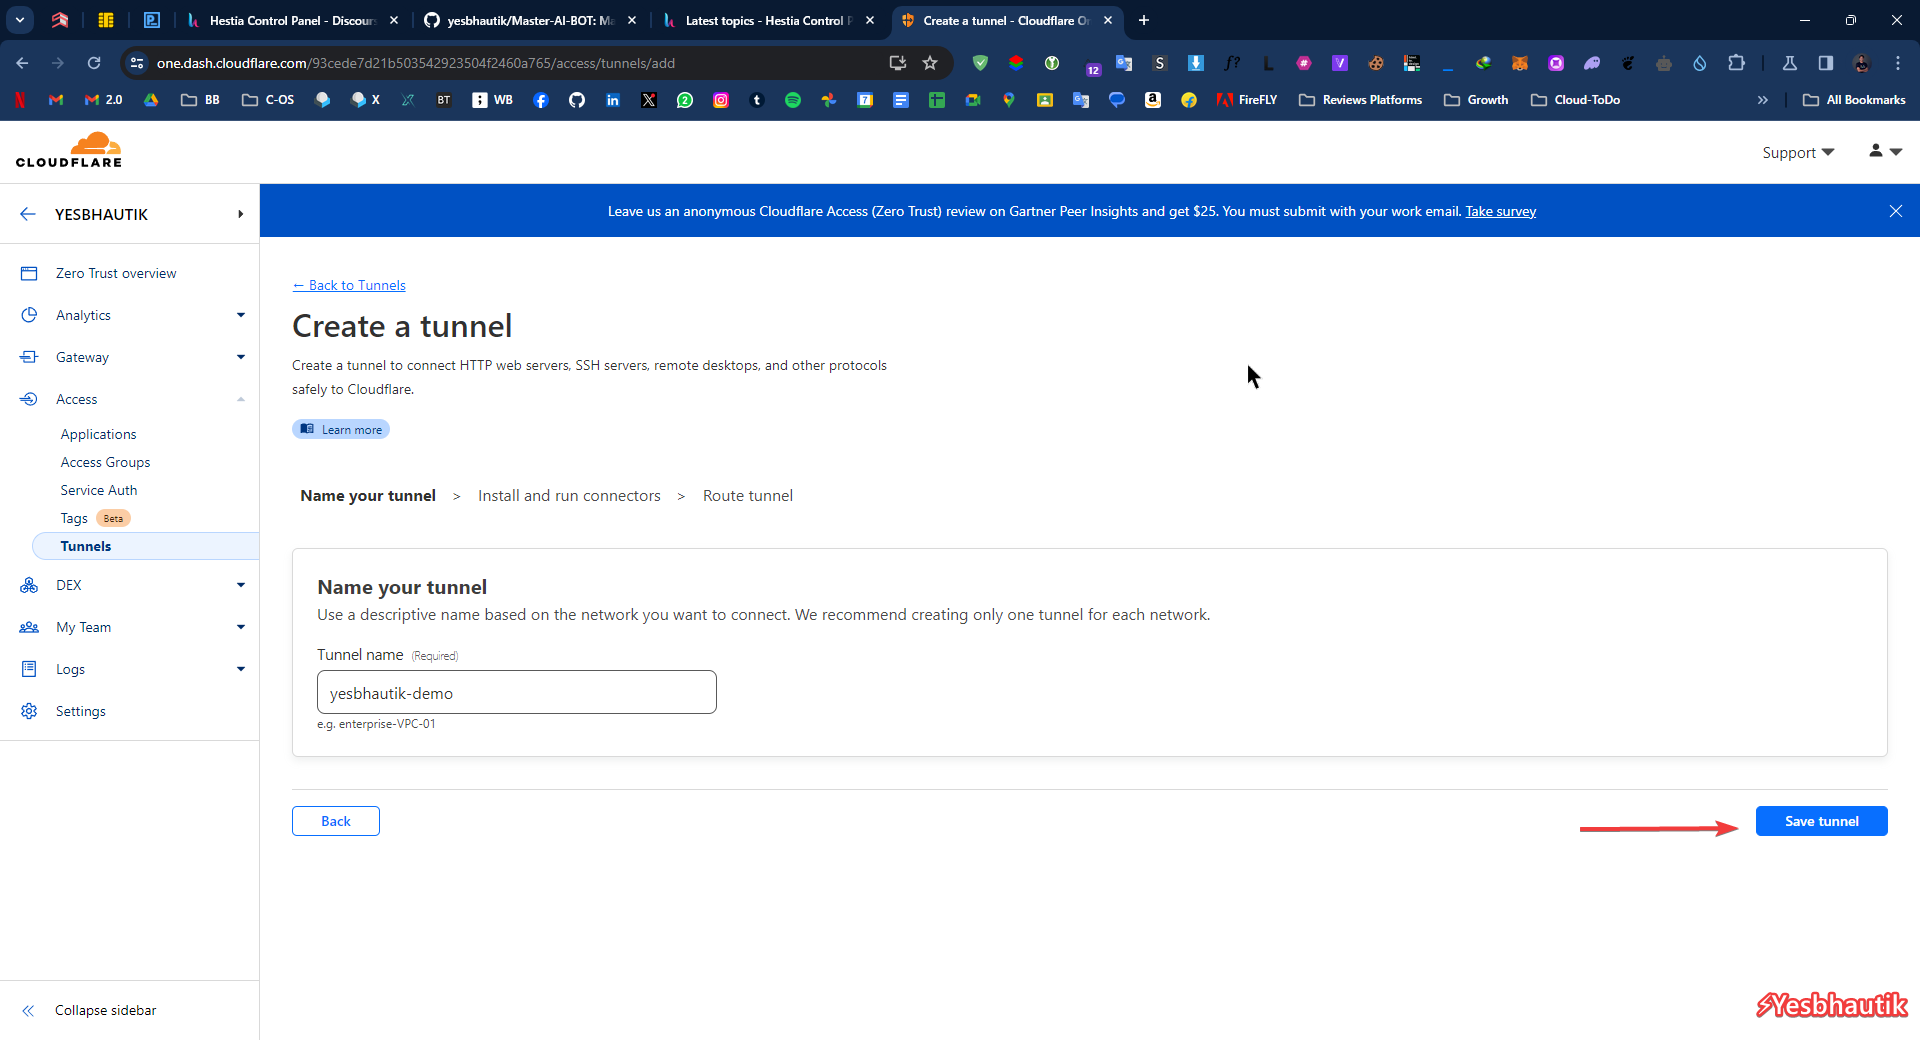
Img 6.3: Sign in to your account
- Select Docker, and click command from below || after paste it on notepad
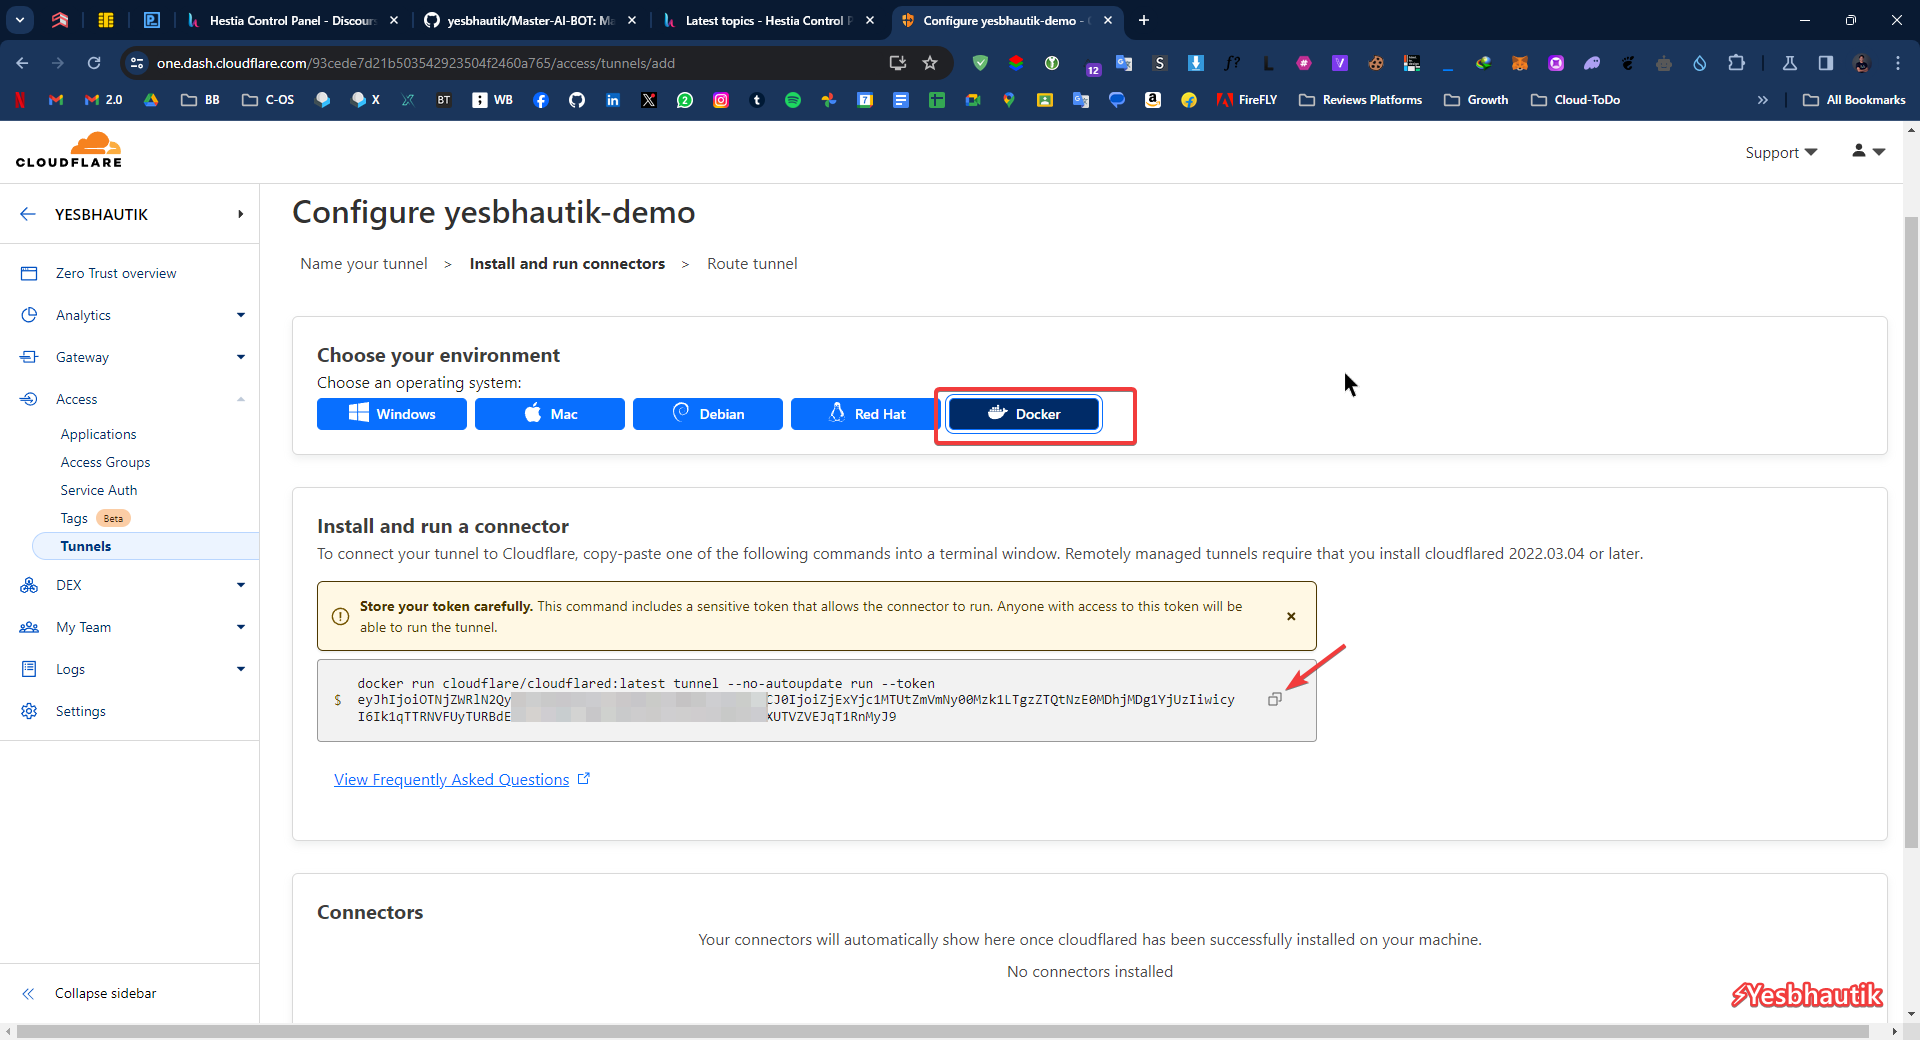
Img 6.4: Sign in to your account
- Open notepad and edit the command
give one space-d --restart unless-stopped
ctrl+A to select all and ctrl+C copy it
Step 07: Connecting the tunnel to the server
- Open SSH of your server/vps
- run
sudo -ito switch to root user - right click to paste command which you have copied from notepad previously & hit enter
- It will look like…

Img 7.1: https://go.yesbhautik.co.in/ac6qezii
Step 08: Last step || Connecting PORT to domain
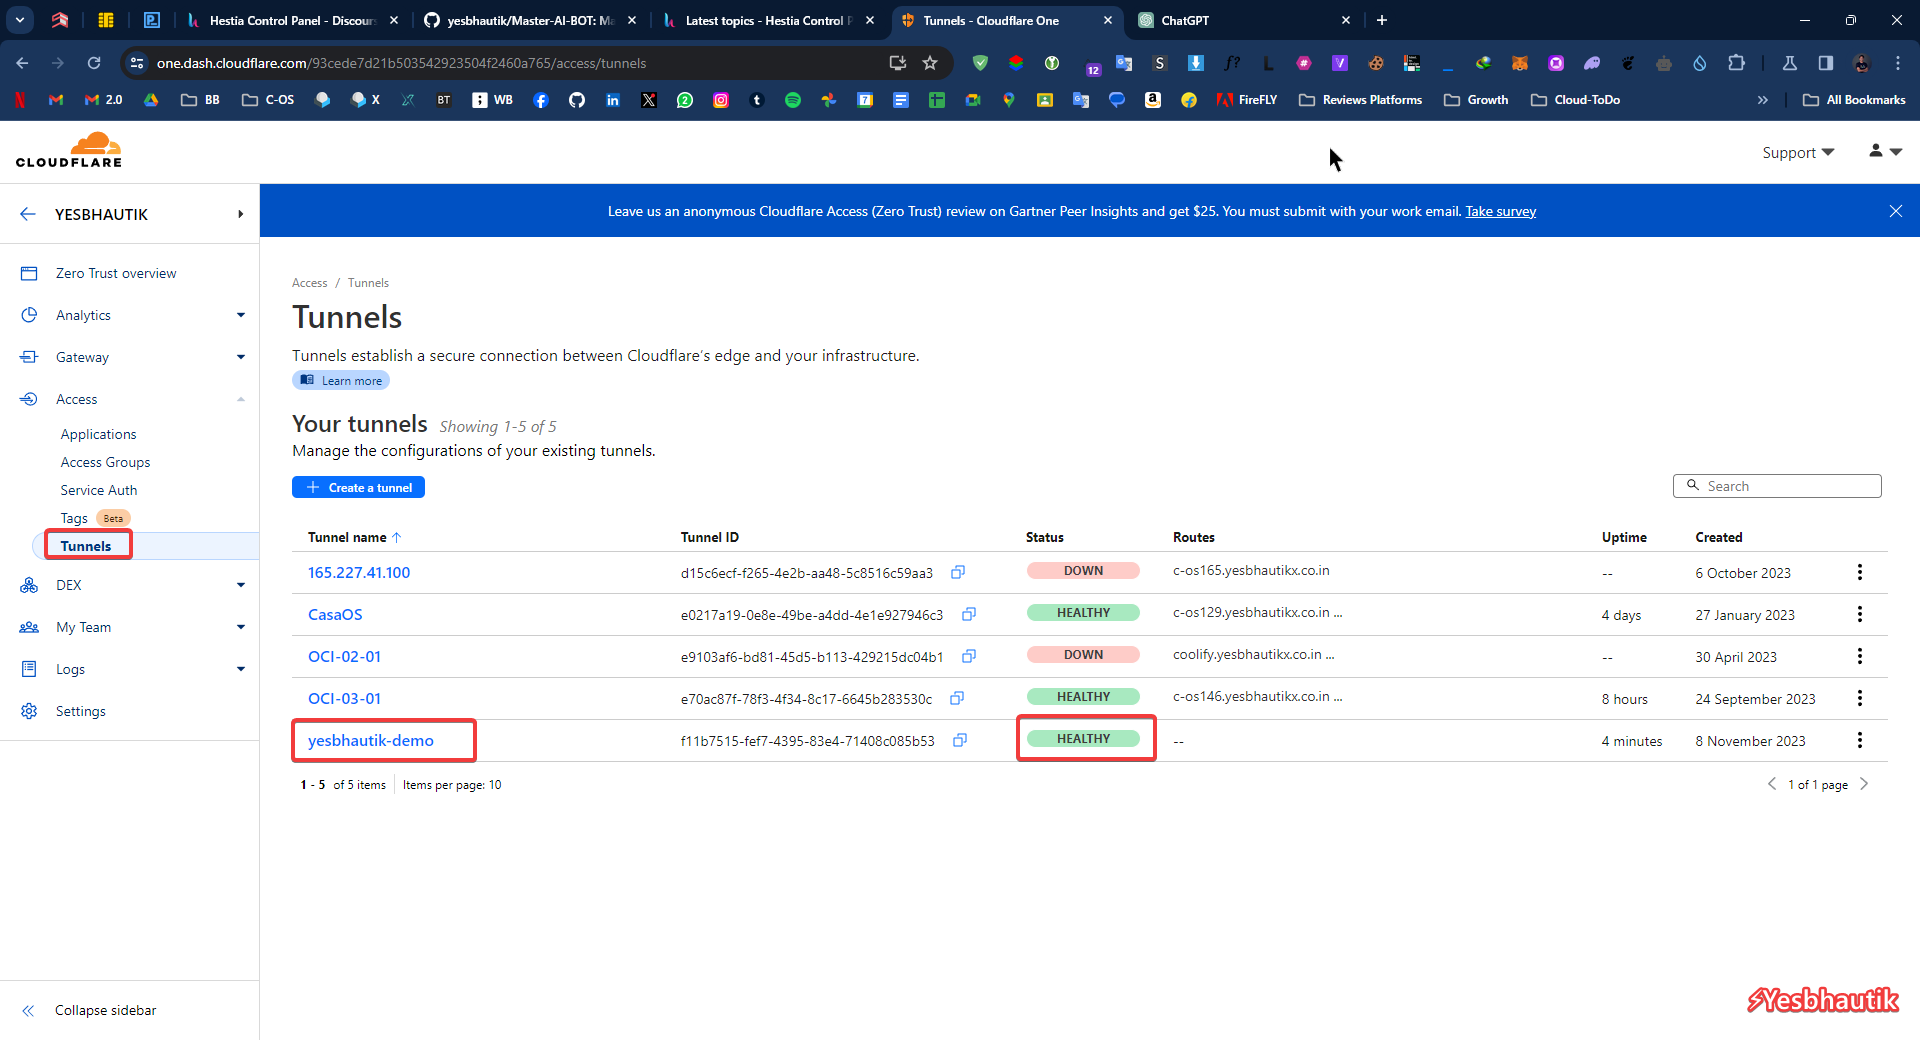
- Return back to tunnels on Cloudflare website [ZERO TRUST section]
- Make sure your tunnel status is Healthy [GREEN]
- Click your tunnel name
Img 8.1: Sign in to your account
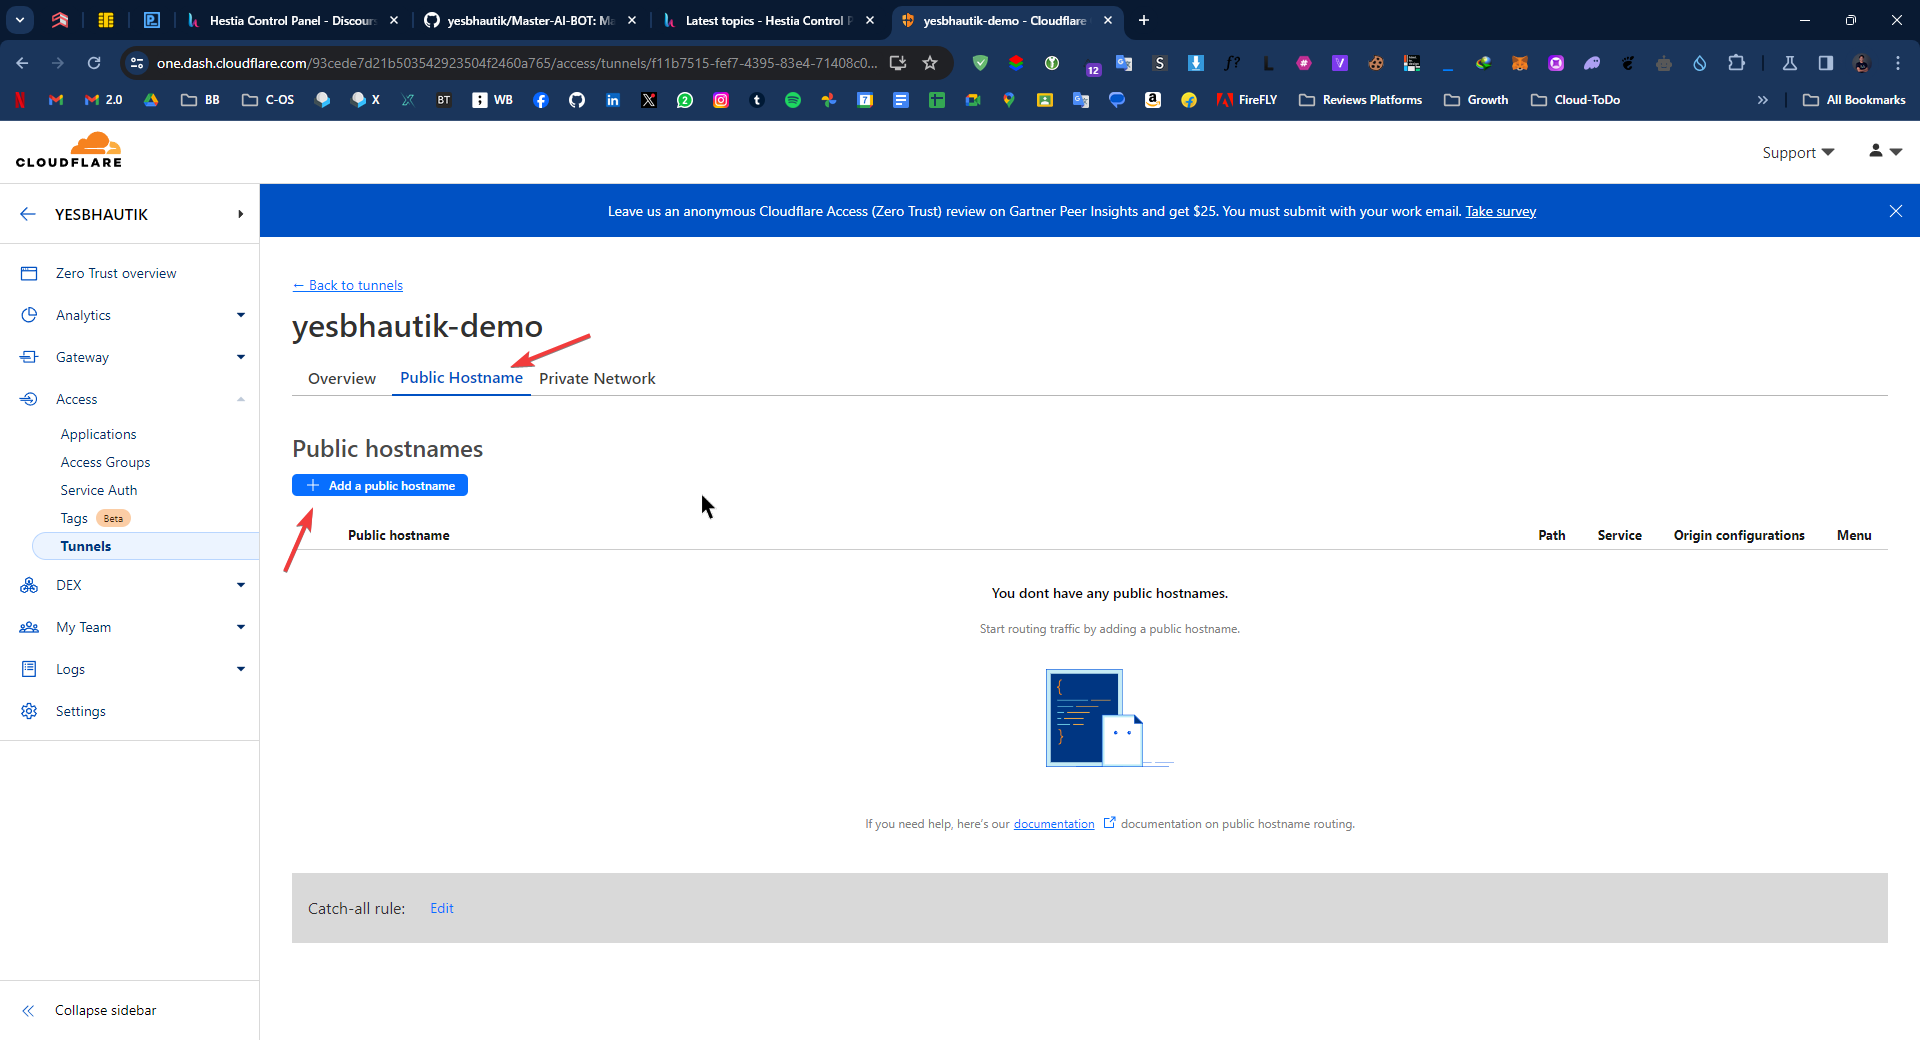
- Click on Configure from Right side pop!
- Click on Public Hostnames, and again click on Add a public hostname
Img 8.2: https://go.yesbhautik.co.in/wgsg67q2
- Select the domain, type submain if you want to create, type path if you wish
- Select HTTP at Service TYPE
- at URL: You can add type localhost:PORT, 127.0.0.1:PORT, public_ipv4:PORT if APP is running on server where you have runned the docker command previously, [If localhost and 127.0.0.1 not working please try with PUBLIC_ipv4:PORT]
If, you want to use any external IP. Then localhost and 127.0.0.1 will never for you. You have to enter Public IP Address only.
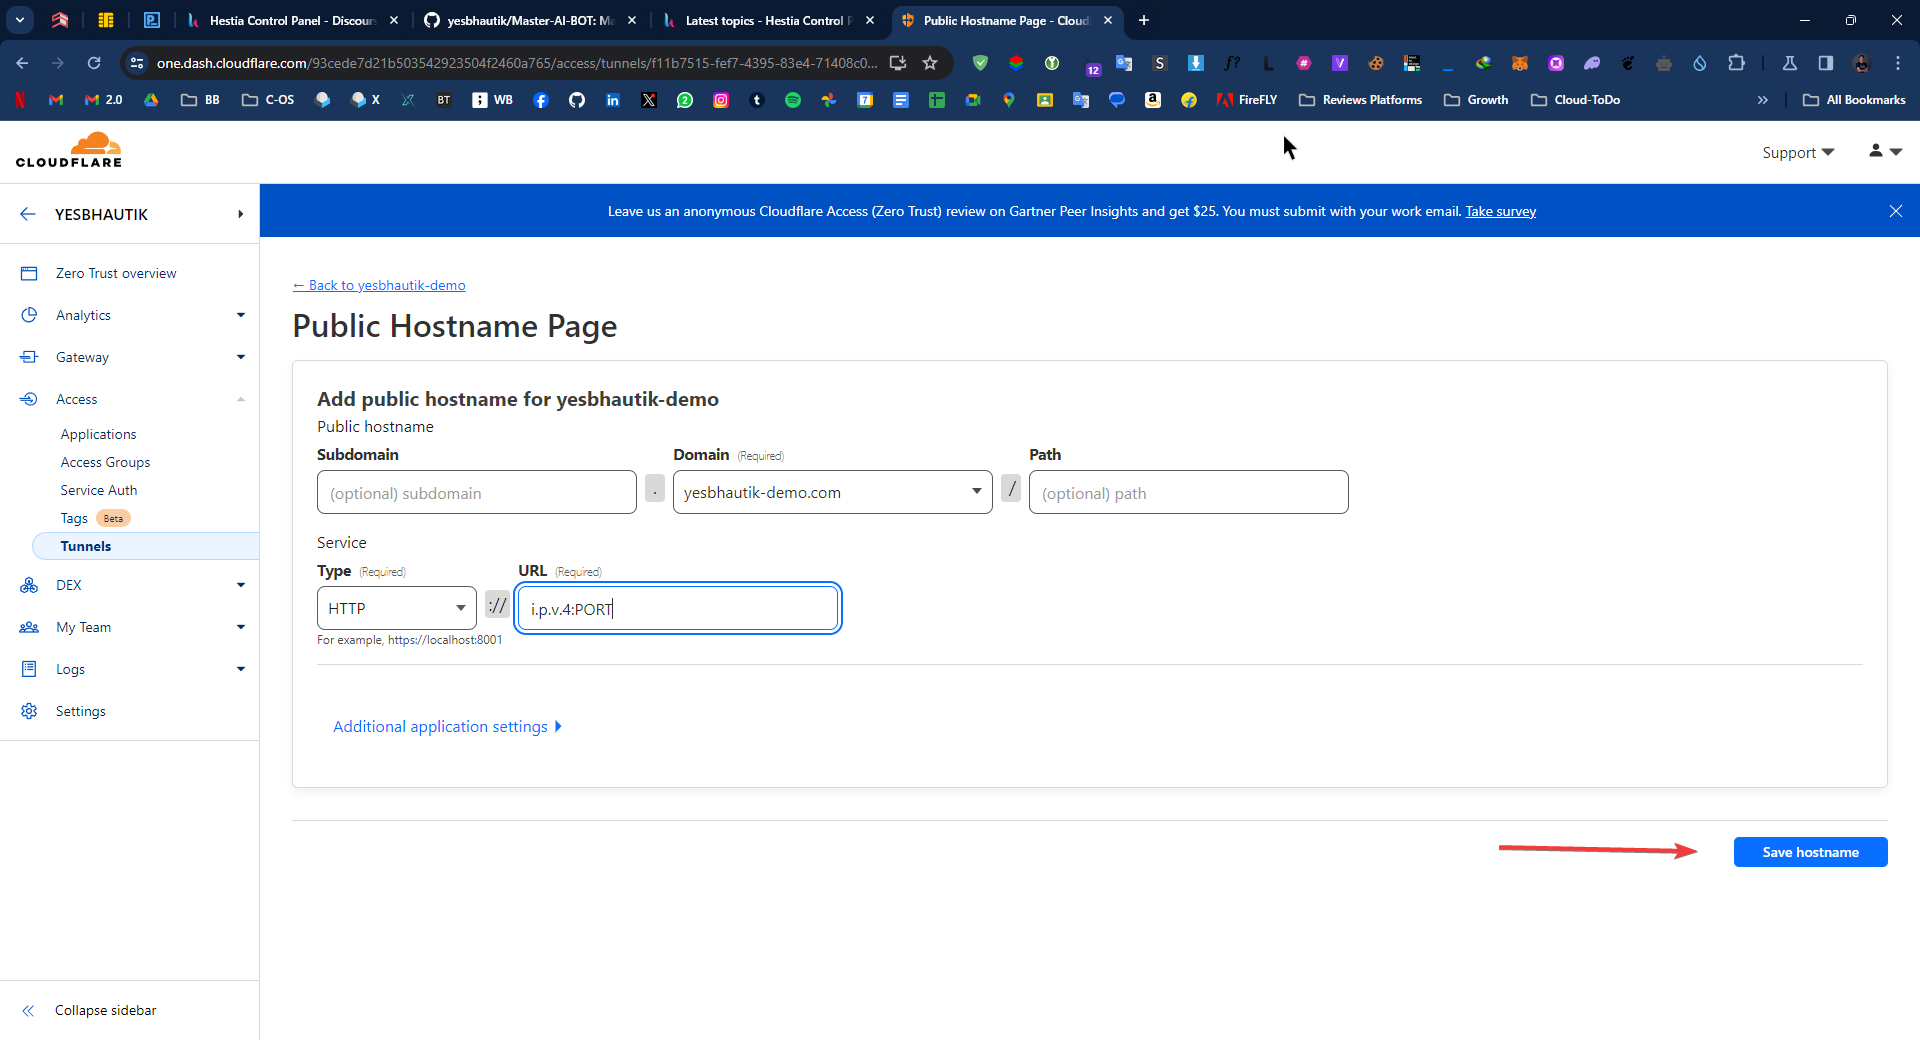
Img 8.3: https://go.yesbhautik.co.in/1se4c7my
Step 09: Unlocking the MAGIC
Visit your website.
You put auth system on your application easily with ZERO TRUST platform