No, I haven’t… This is how it looks now.
No, I haven’t… This is how it looks now.
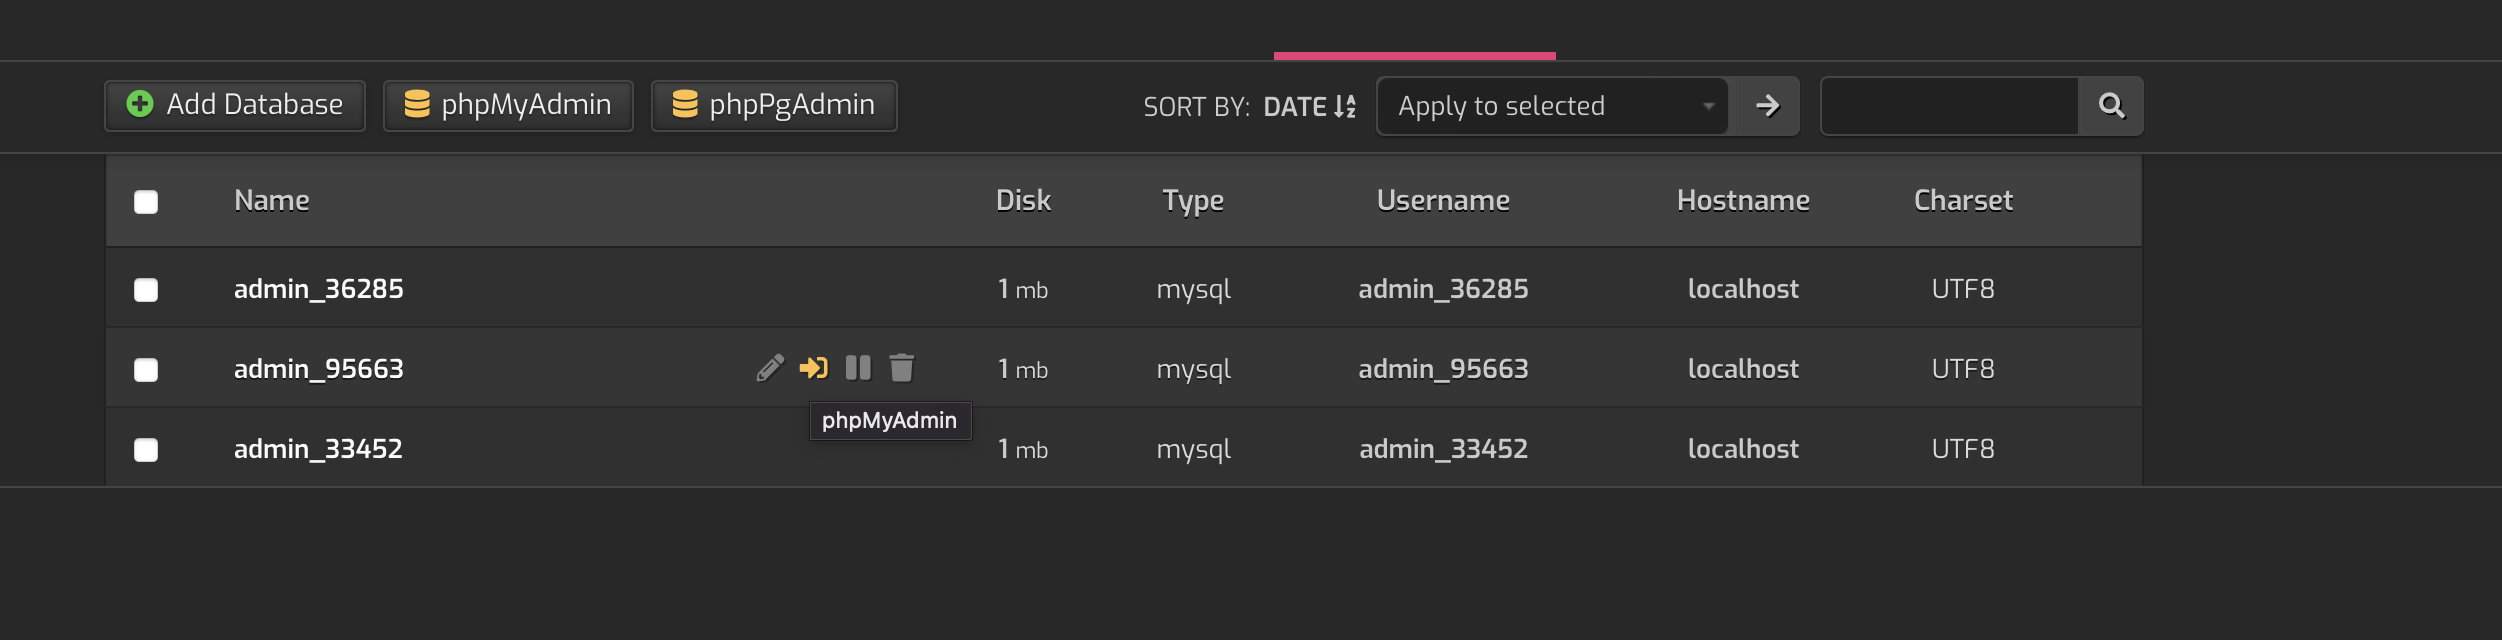
There is a “phpmyadmin” button on the admin interface and it brings to a 404 error page.
I can see many posts about this issue.
It’s true that there are some “workarounds” to make it work (I always have to dig into the posts to remember it) but won’t it be better to remove that phpmyadmin button if it’s not working by default?
Because I think people expect to get on phpmyadmin when I click on it, not on a 404 error page.
Users should setup their hostname correctly and not keep https://ip:8083 but https://hostname.com:8083. In that case the URL works fine…
Then the button works fine…
By default it does not work
Our server is for instance on hestia.domain.com:8083 and by default the “hestia.domain.com” domain does not exist on the Hestia server.
When you connect on https://hestia.comain.com:8083 then click on the phpmyadmin button, it’ll open http://hestia.domain.com/phpmyadmin (without the port)
So if you want this to work, you’ll first have to create “hestia.domain.com” as a web site under a user account (for instance admin account)
Then and only then, the phpmyadmin button will arrive on a login page.
But a login page that is not really useful since you can’t select which DB you want to log in to, there’s only login/password fields so impossible to connect.
Then I don’t even remember how to connnect to a speeficic database
By default subdomain hostname.domain.com is added during the install. As it is required for lets encrypt verification for a working SSL.
That users don’t set up the required DNS records to get it working is for us hard to control…
By default users should use the database_username + database_password as it is always is PHPmyAdmin. I don’t think it is different with DirectAdmin (But could be changed) or VestaCP.
I know it is hard to remember but it is how PHPmyadmin works… (And Hestia doesn’t create user / password by default…)
To solve this issue we have added PHPmyAdmin Single Sign on to Hestia allowing users to login without database username and password. (Enable via settings)
Click on it and the user will login into phpmyadmin with a temporary username / password to the database of the likening.
I know it sometimes spotty and it doesn’t work if your ip is the same as the server ip and some other smaller issues…
We have removed http://ip/phpmyadmin/ for the following reasons:
Instead of complaining that something is not like you liking. Submit a pull request with the suggested changes and we will review it. But ip/phpmyadmin is not coming back…
As told their are multiple ways to solve this issue(s) see the documentation for it…
I’m never connecting using the IP.
So my problem is not with using the IP but the FQDN
I was not aware of this SSO feature, that’s great
I’ve just configured it
But still the button launches on myhestia.domain.com/phpmyadmin (where myhestia.domain.com is the FQDN of the server itself) and results on a 404 error
The only way to get rid of the 404 error is to click on the Web button on top and add “myhestia.domain.com” as if I was going to host a website under that FQDN.
Then I don’t get anymore the 404 error.
By default FQDN is added to Hestia so it should allready be there… Unless you have removed it but then you won’t be able to renew ssl…
That is very strange. I have setup too many Hestia Servers already, and in ALL of them the web domain of the server’s FQDN had already been created. The procedure I follow is like this:
example.com and you want to name your server server1.example.com, then create the A record for server1 in the example.com zone.--hostname FQDN (for some automation I use the parameter --hostname $(hostname -f) provided of course I have already setup the FQDN name in the OS)Not even in a single server did I ever have the problem you described, when following the above.
This topic was automatically closed 30 days after the last reply. New replies are no longer allowed.