OK downloaded it and it’s booted up on the Esxi server.
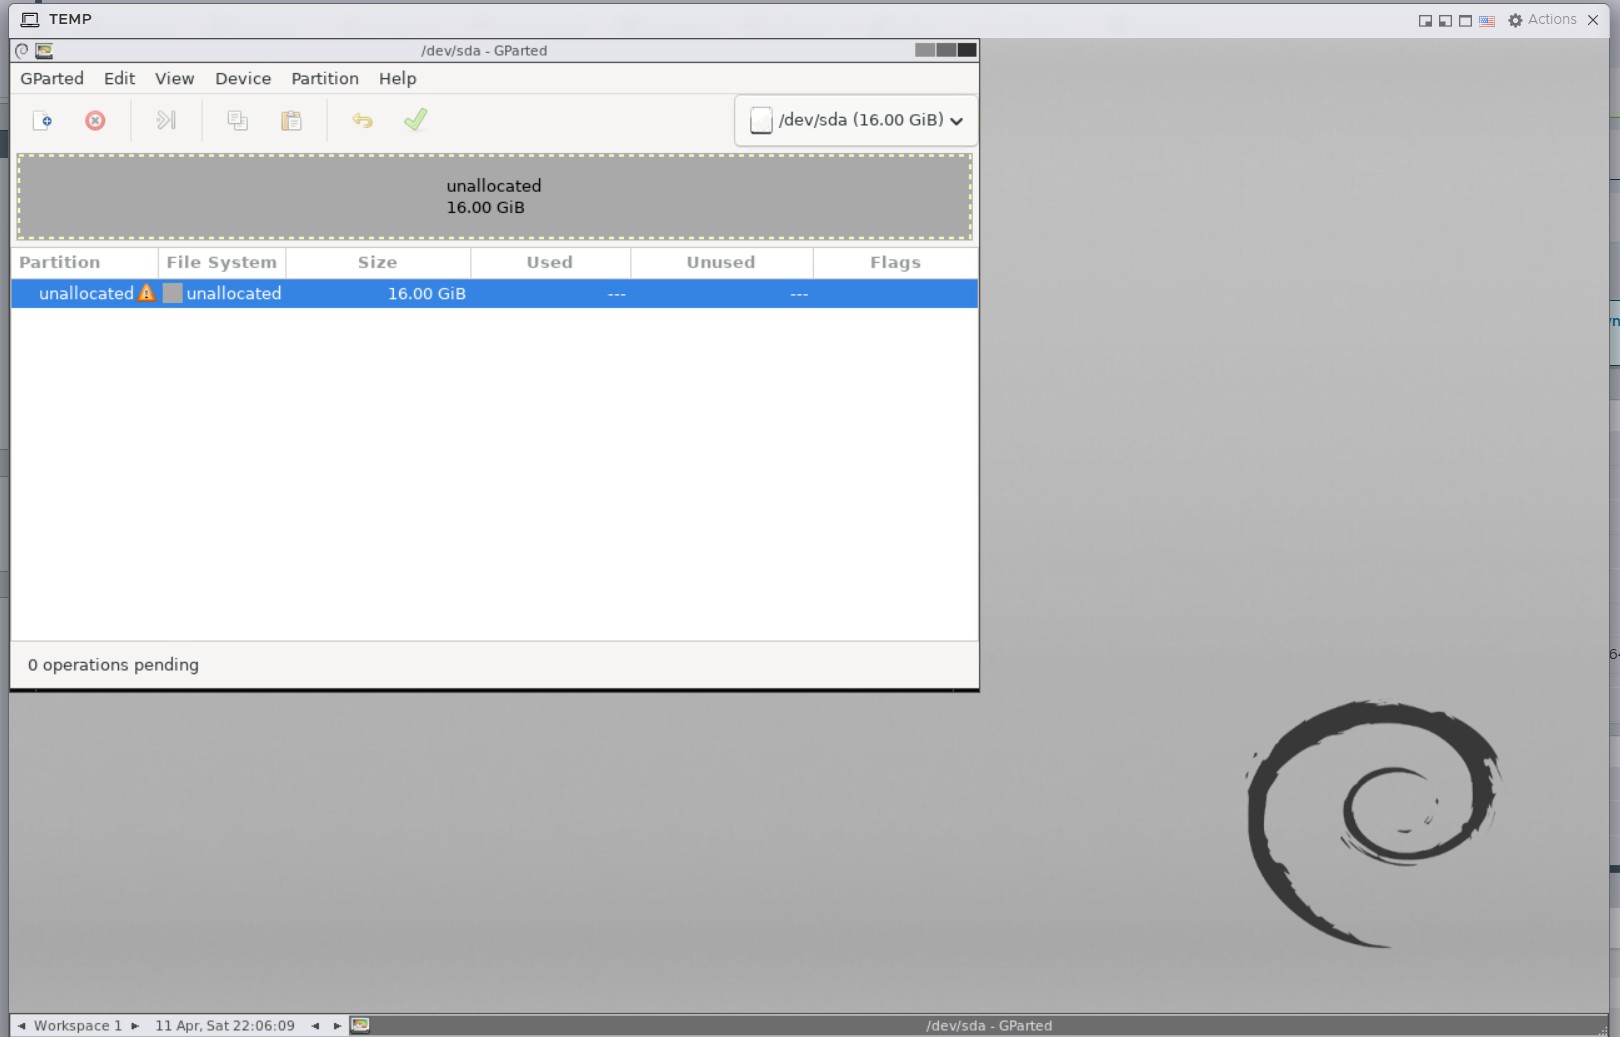
You must select the drive that is using your VM with Hestia.
How would I do that this is a booted ISO it’s seeing its own drives?
But you must boot that ISO in your VM, I’ve never used ESXi so I can’t help you there.
I did boot that ISO in Esxi That’s where I’m at right now.
But you booted it in your VM? If you did, you can select your VM’s drive in the box located at the top right.
In Esxi it’s an independent OS It’s not going to be able to see any of the other OS’S,
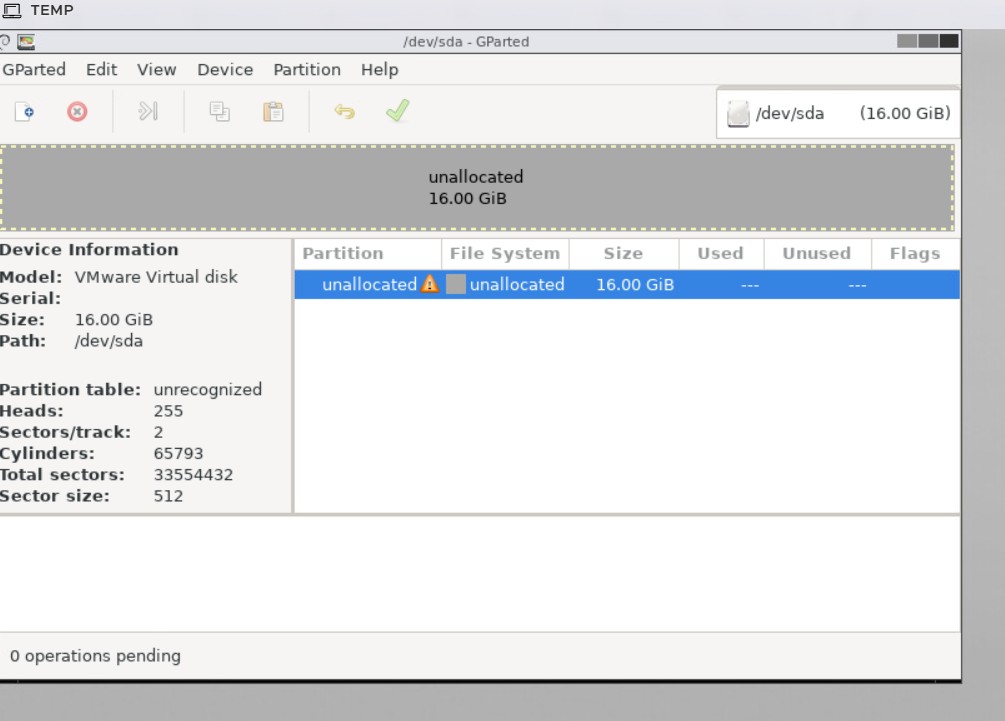
That won’t work at all, you MUST start the VM with that ISO to be able to modify the partition of Hestia. I suppose ESXi is able to do that but as I said, I’ve never used it.
Yes I started the VM with the ISO.
But in Esxi everything is independent I have to tell her what OS it is and what operating system it is et cetera and et cetera. It’s it’s completely own container and own server There would be no way it would be able to see anything else for sure that would be a major security issue.
If you started the VM with the ISO, you should view all the drives in the VM clicking on the drop box at the top right.
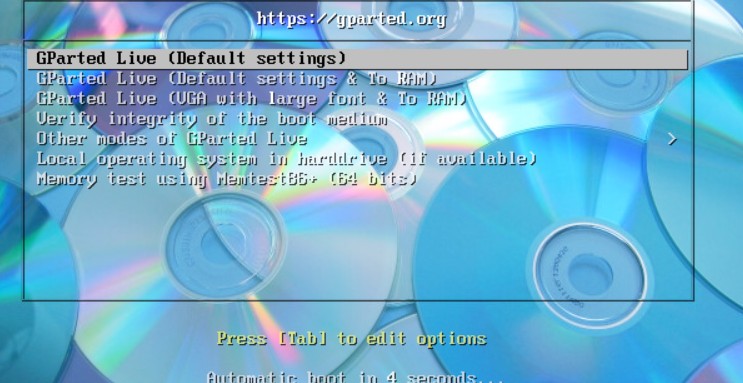
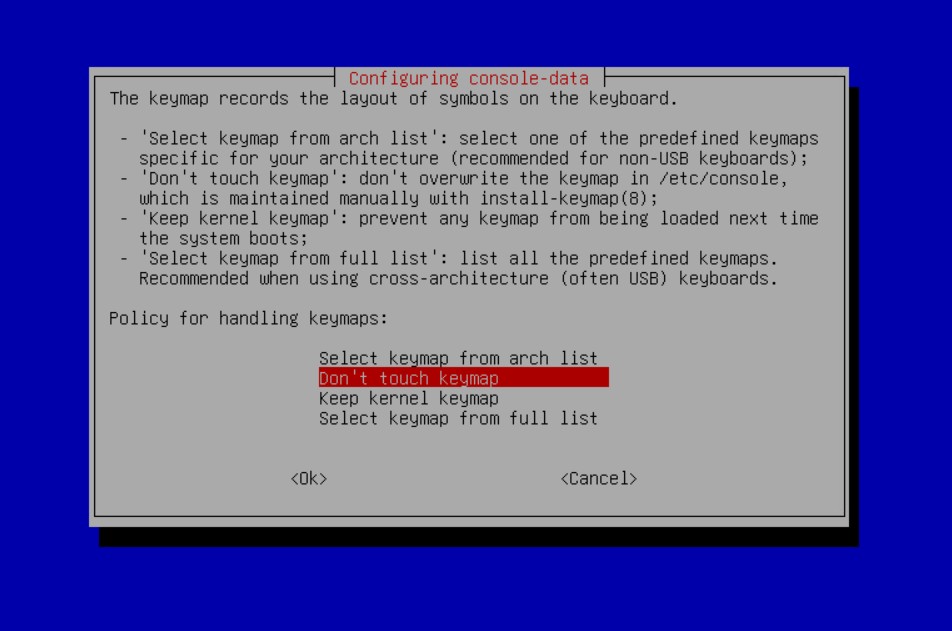
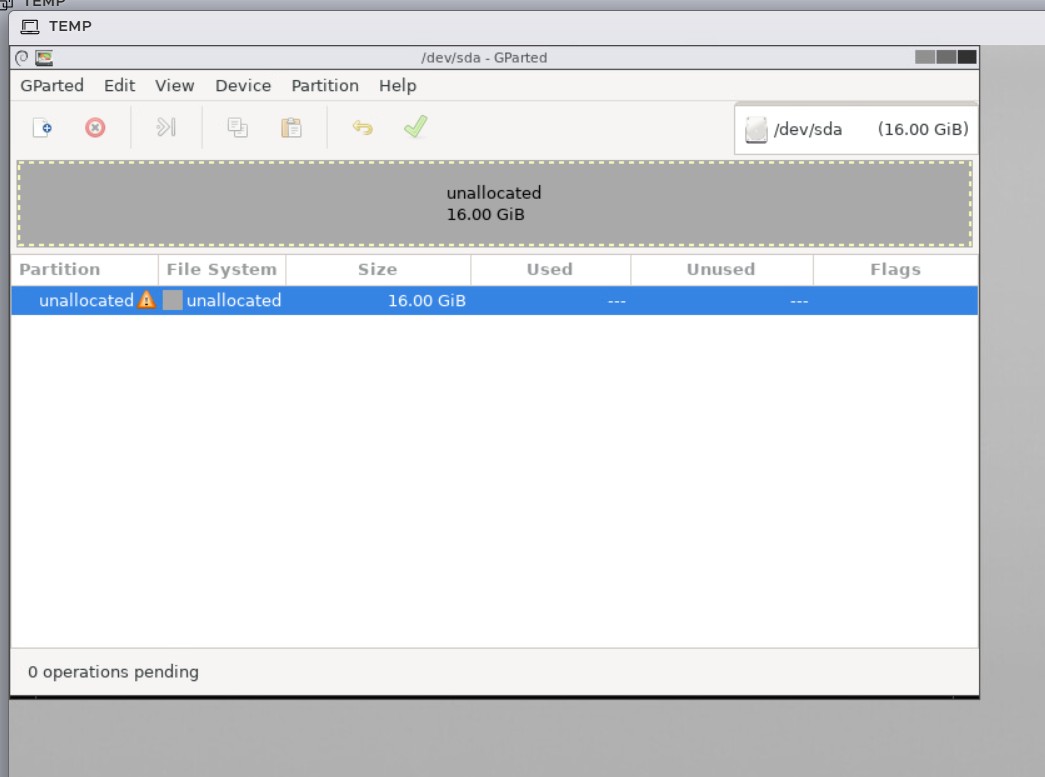
I don’t like to do this but here are the instructions (using AI):
Steps to Resize a Hestia VM Disk using GParted on ESXi
To resize a disk for a Hestia VM running on ESXi using a GParted Live ISO, follow these detailed steps:
1. Upload the ISO
First, ensure you have the GParted ISO downloaded. You must upload it to an ESXi Datastore so the VM can access it.
2. Configure the VM’s CD/DVD Drive
- Log in to your ESXi web client and locate your VM.
- Right-click the VM and select Edit Settings.
- In the Virtual Hardware tab, find the CD/DVD Drive.
- Change the drop-down menu to Datastore ISO file.
- Browse your datastore and select the GParted ISO.
- Crucially, ensure the Connect at power on checkbox is ticked.
3. Force the VM to Boot from ISO
ESXi VMs boot very quickly, often skipping the boot menu. You have two ways to handle this:
Option A: Force Setup (Recommended)
- In the Edit Settings window, go to the VM Options tab.
- Expand Boot Options.
- Check the box for Force BIOS setup (or Force EFI setup, depending on your VM’s firmware).
- This ensures that the next time you start the VM, it will boot directly into the BIOS/UEFI menu where you can manually select the CD-ROM as the primary boot device.
Option B: Boot Delay
- Under the same Boot Options section, set a Boot Delay of 5000 milliseconds (5 seconds).
- This gives you time to click inside the console window and press
ESC(for UEFI) orF12(for BIOS) to open the Boot Menu manually.
4. Using GParted
- Power on the VM. It should now load the GParted environment.
- Select the default settings for language and keyboard layout (usually by pressing Enter several times).
- Once the GUI opens, you will see your partition layout.
- Note: You must have already increased the “Hard Disk” size in ESXi settings for the “Unallocated” space to appear here.
- Right-click the partition you want to expand and select Resize/Move.
- Drag the edge of the partition to fill the unallocated space.
- Click Resize/Move, then click the Apply (checkmark button) in the toolbar to commit the changes.
5. Clean Up and Restart
- Once the process is complete, shut down the VM.
- Go back to Edit Settings and either disconnect the ISO or uncheck Connect at power on.
- If you enabled Force BIOS setup, make sure to uncheck it so the VM boots normally from the hard drive.
- Power on the VM. Hestia and the underlying OS should now recognize the larger disk capacity.
I guarantee you Esxi is not going to share partitions and OS’s That would be a huge breach of security.
Yeah that’s a little bit crazy and that’s not the correct way I have it somewhere I’ll share it once I find it.
Yeah it’s really bad now with AI taking over things The advice is terrible Not even close to what is actually going on. I can’t even find the old videos that used to tell how to do this AI is destroyed The good advice.